MSD Quick Start
MSD (Master Systems Display) is the most involved card in LCARdS — it's less a single card and more a small canvas editor of its own. This is a quick UI-only walkthrough showing the buttons and panels to use in order to get a first working MSD on screen. Once you're comfortable, the other pages in this section (Control Overlay, Line Overlay, Routing & Channels, Shape Overlay) cover every option in full, including the config format underneath.
What You're Building
An MSD is four things layered on top of each other:
| Layer | What it is |
|---|---|
| Base SVG | A background blueprint/schematic image — a starship deck plan, a floor plan, or nothing at all (just an empty viewbox) |
| Controls | Any existing Home Assistant or LCARdS card (a button, a slider, a sensor), positioned on the canvas |
| Lines | Routed connections between controls — drawn automatically, like circuit traces |
| Shapes | Decorative or structural geometry — rooms, zones, conduits |
Everything is built and arranged visually in MSD Studio, the card's full-screen editor. You'll rarely need to hand-write config for a first MSD.
Step 1 — Add the Card
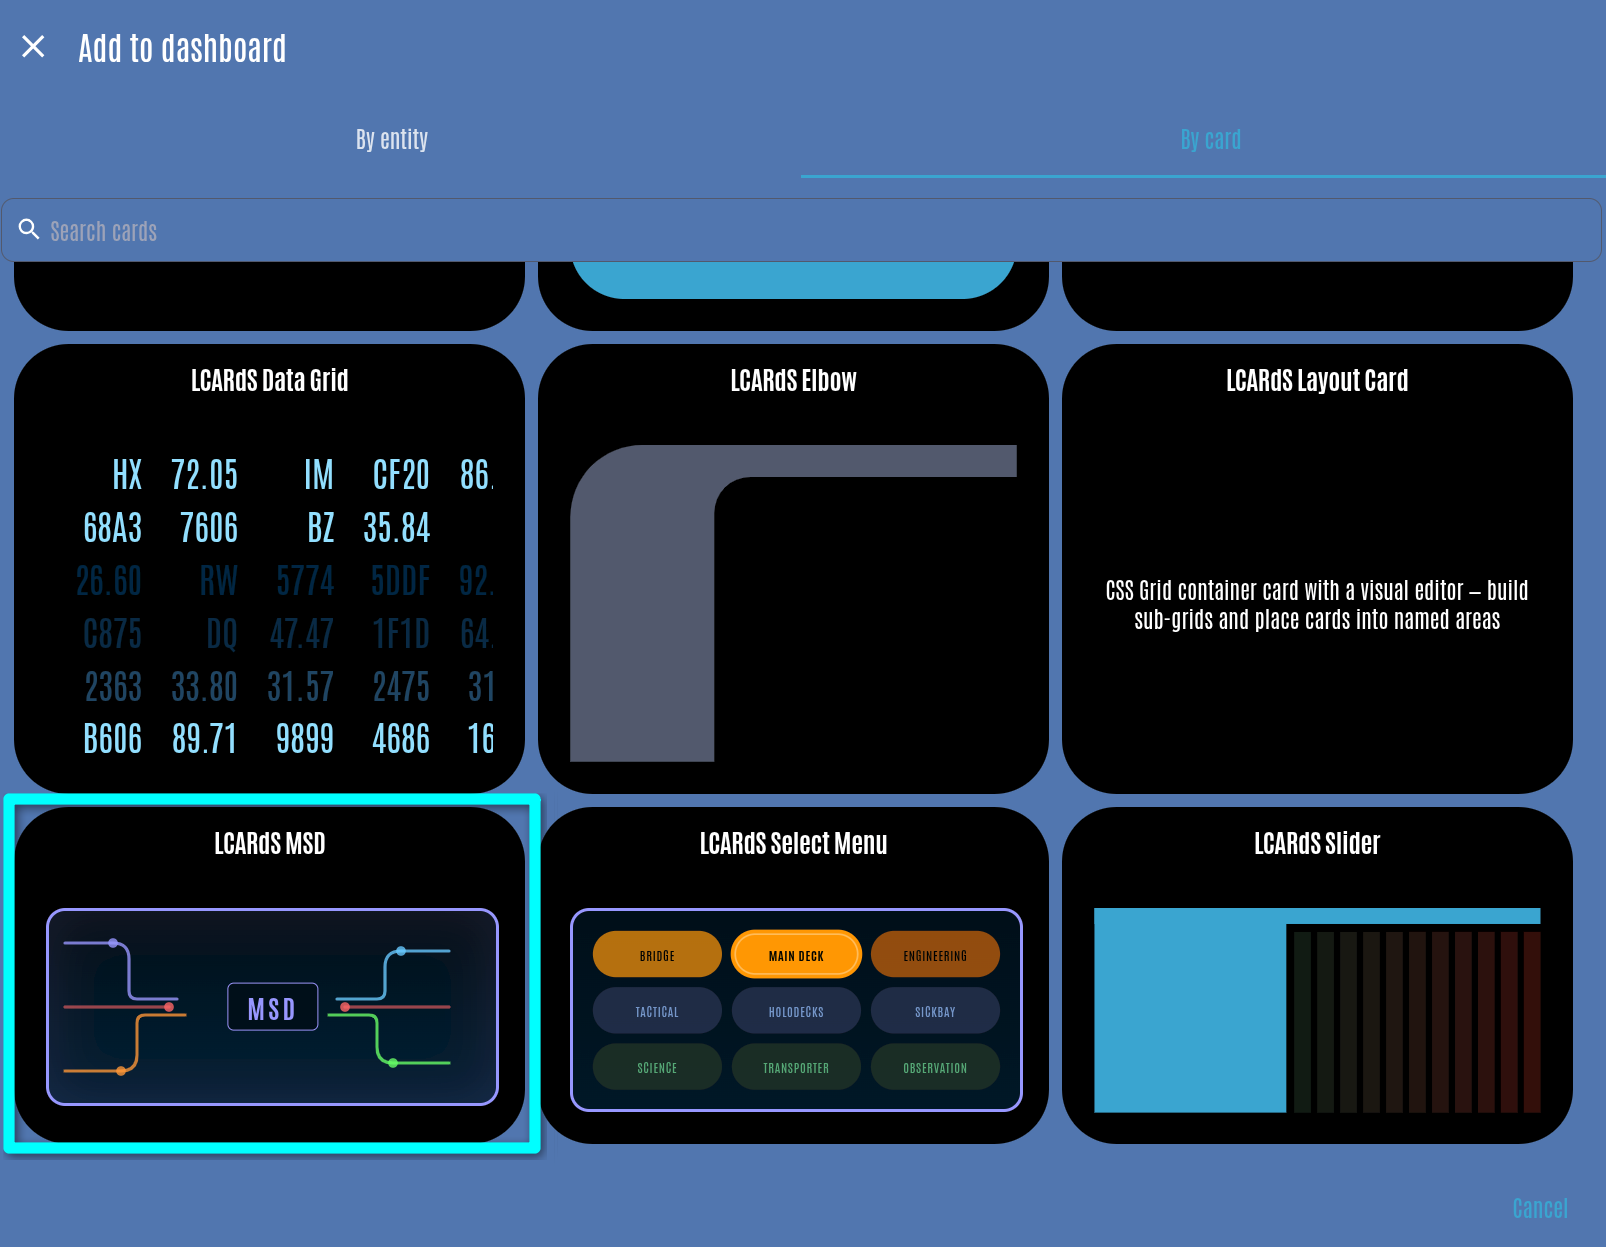
From a dashboard in edit mode, click Add Card and search for LCARdS MSD.
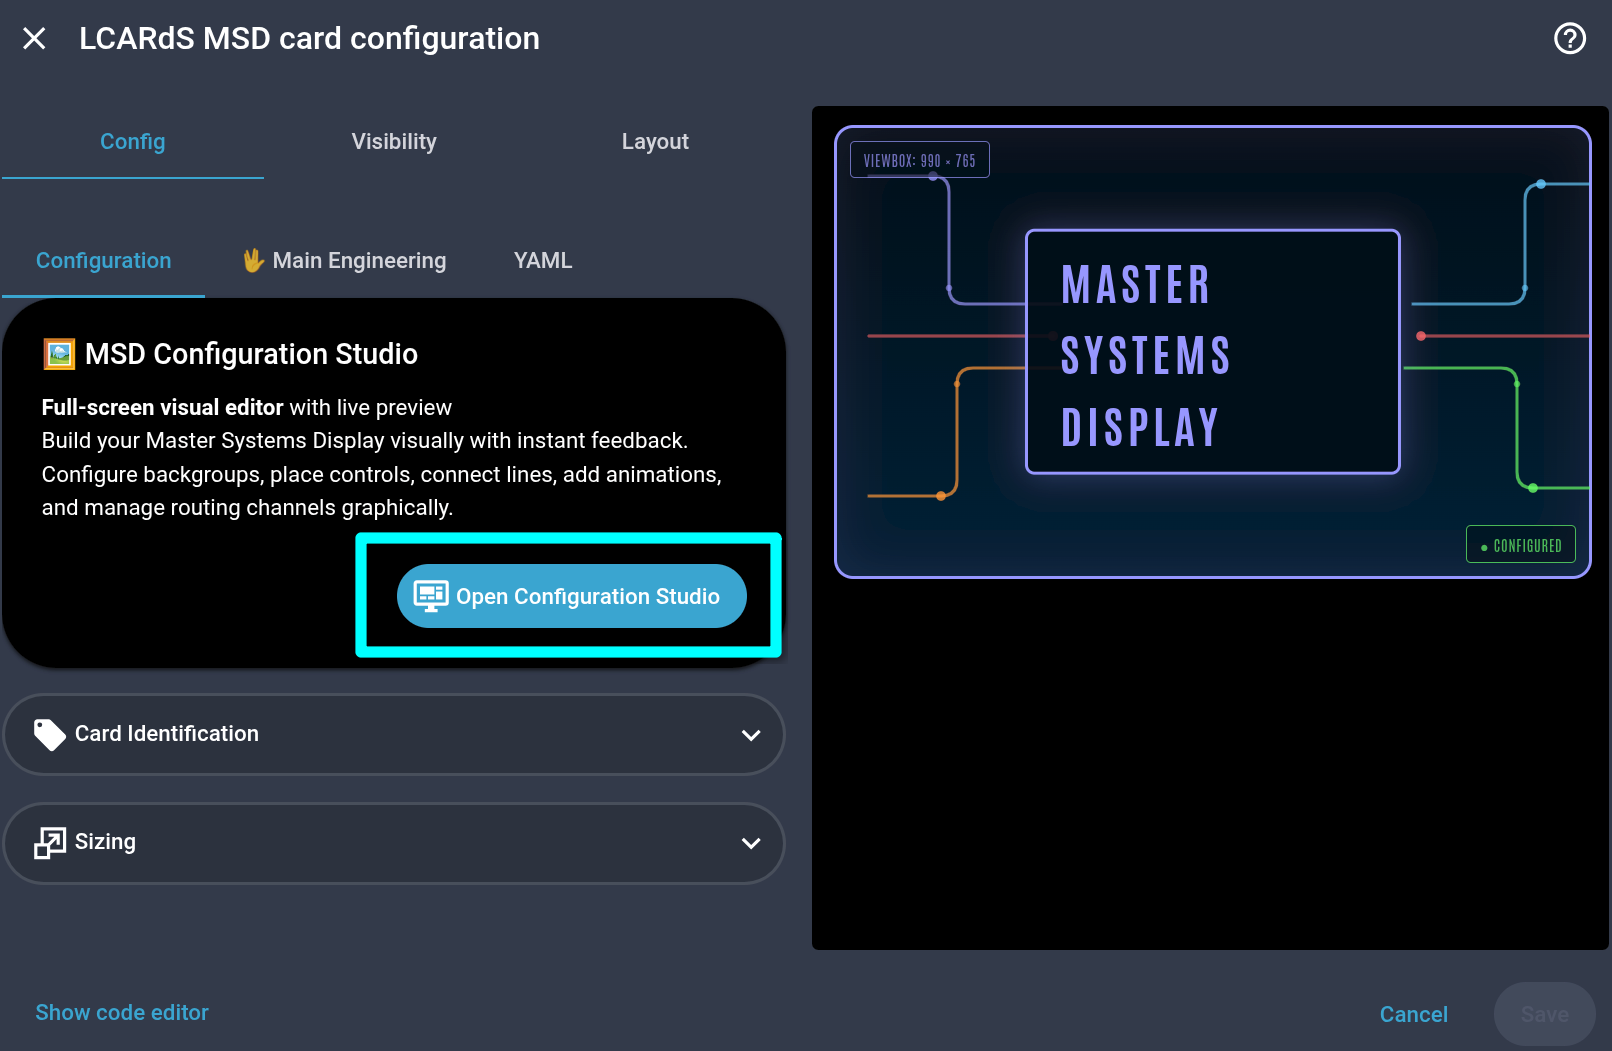
The card editor that opens has a single Configuration tab with one button. Click Open Configuration Studio.
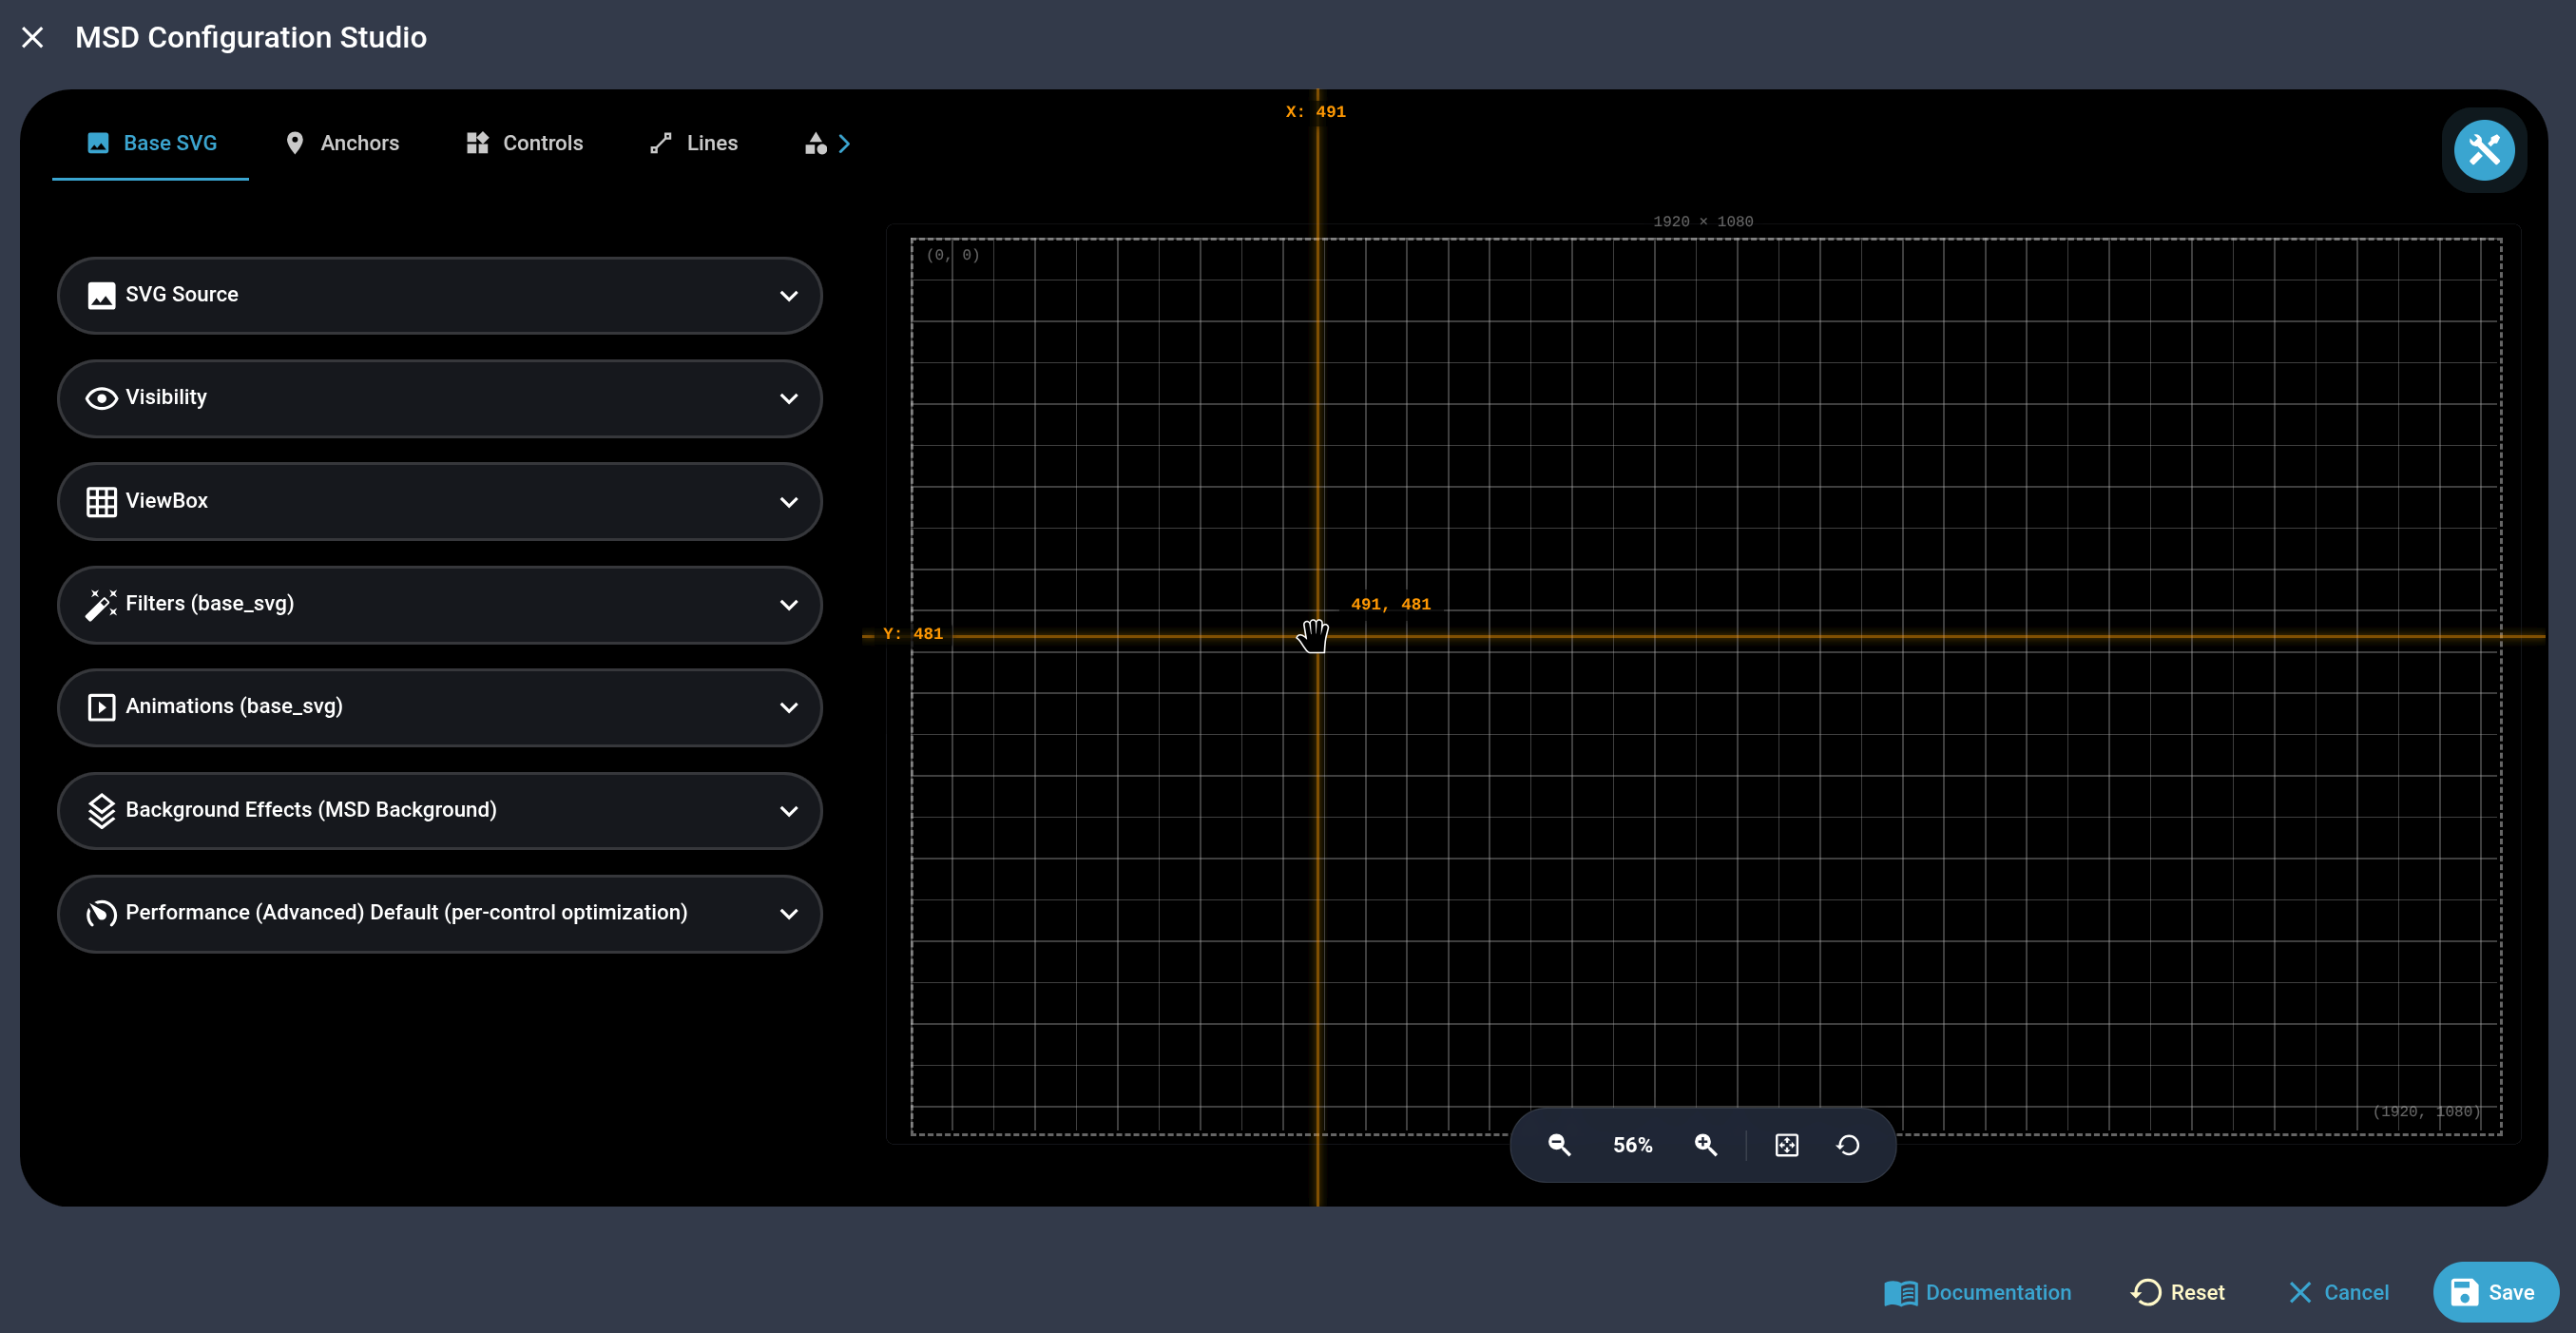
This launches MSD Studio: a full-screen dialog with a canvas on one side, a config panel on the other, and a row of tabs across the top — Base SVG, Anchors, Controls, Lines, Shapes, Routing, YAML. You'll only need the first four for a first MSD.
Step 2 — Choose a Background
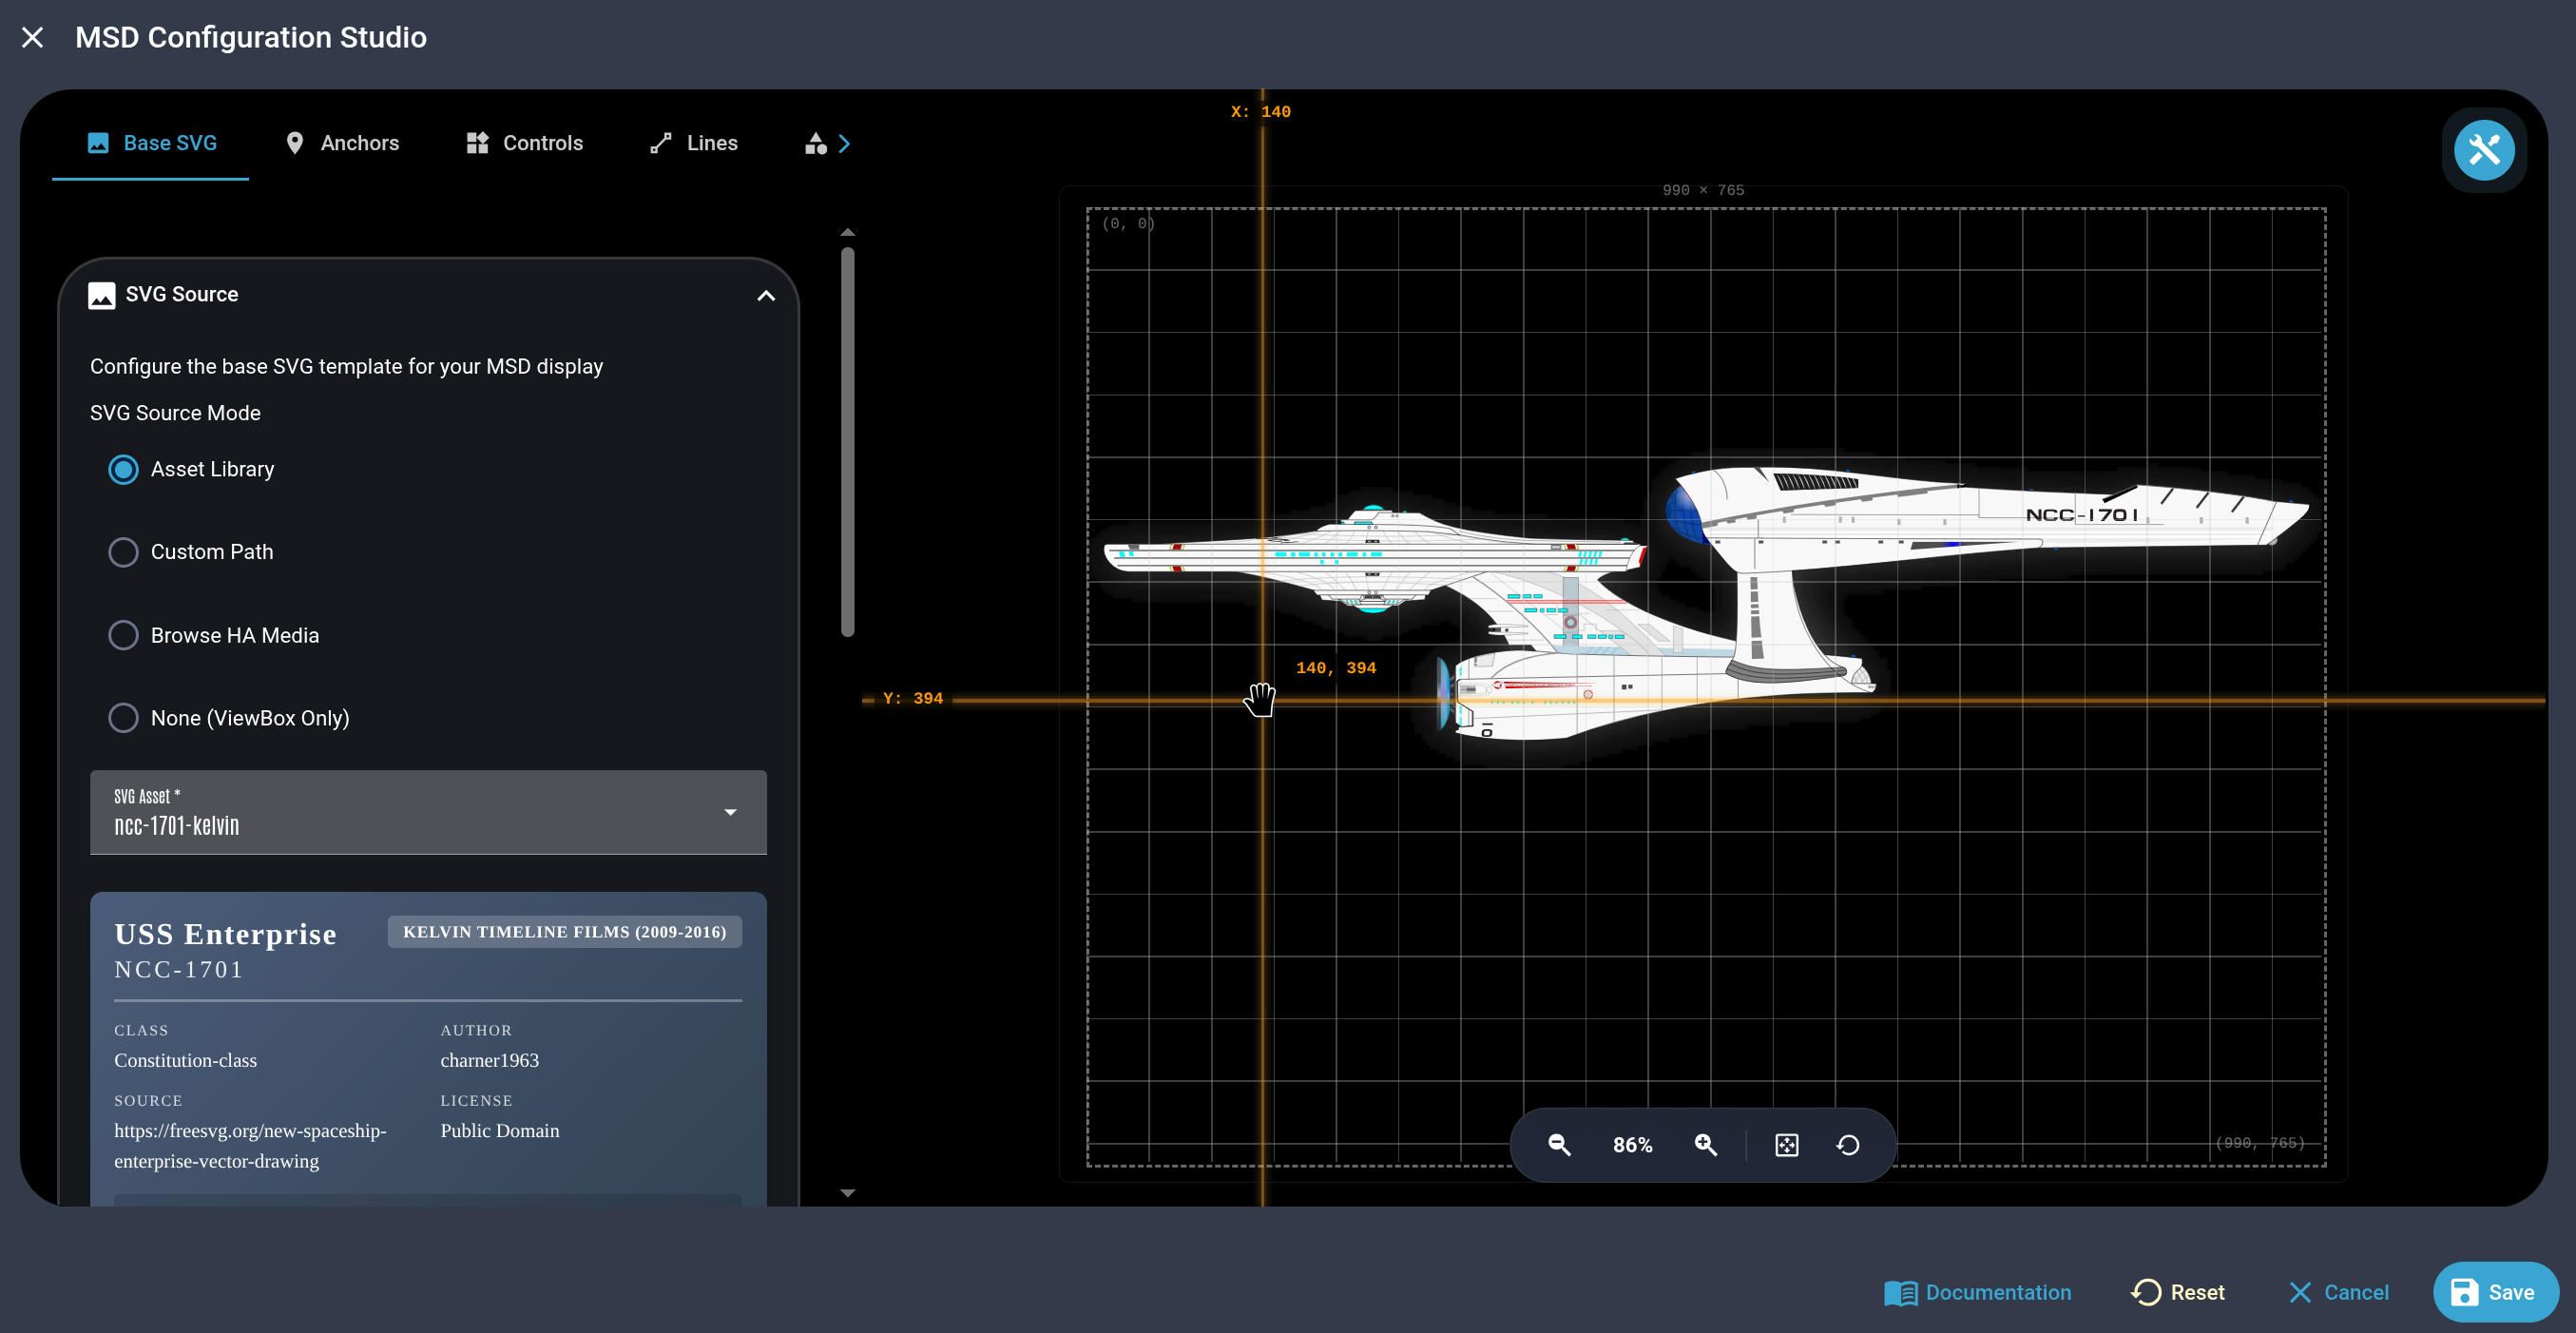
On the Base SVG tab, pick a source:
- Asset Library — built-in ship blueprints that ship with LCARdS (the easiest starting point)
- Browse HA Media — an SVG you've uploaded to Home Assistant's media library
- Custom Path — a
/local/…path or URL to your own SVG - None — a blank canvas with no background image at all
For your first MSD, pick an Asset Library ship.
Free anchors
Built-in ships (and most SVGs) come with automatically-detected anchor points — hull_center, extremity_bow, extremity_stern, and similar — computed straight from the image's own silhouette. You can position your first controls against these without placing a single anchor by hand.
Step 3 — Place Your First Control
Switch to the Controls tab and click Place on Canvas and then draw a box for the control on the canvas. When you release the mouse button, the Add Control dialog will open. Note: you can also do all placement and sizing in the Add Control dialog input fields.
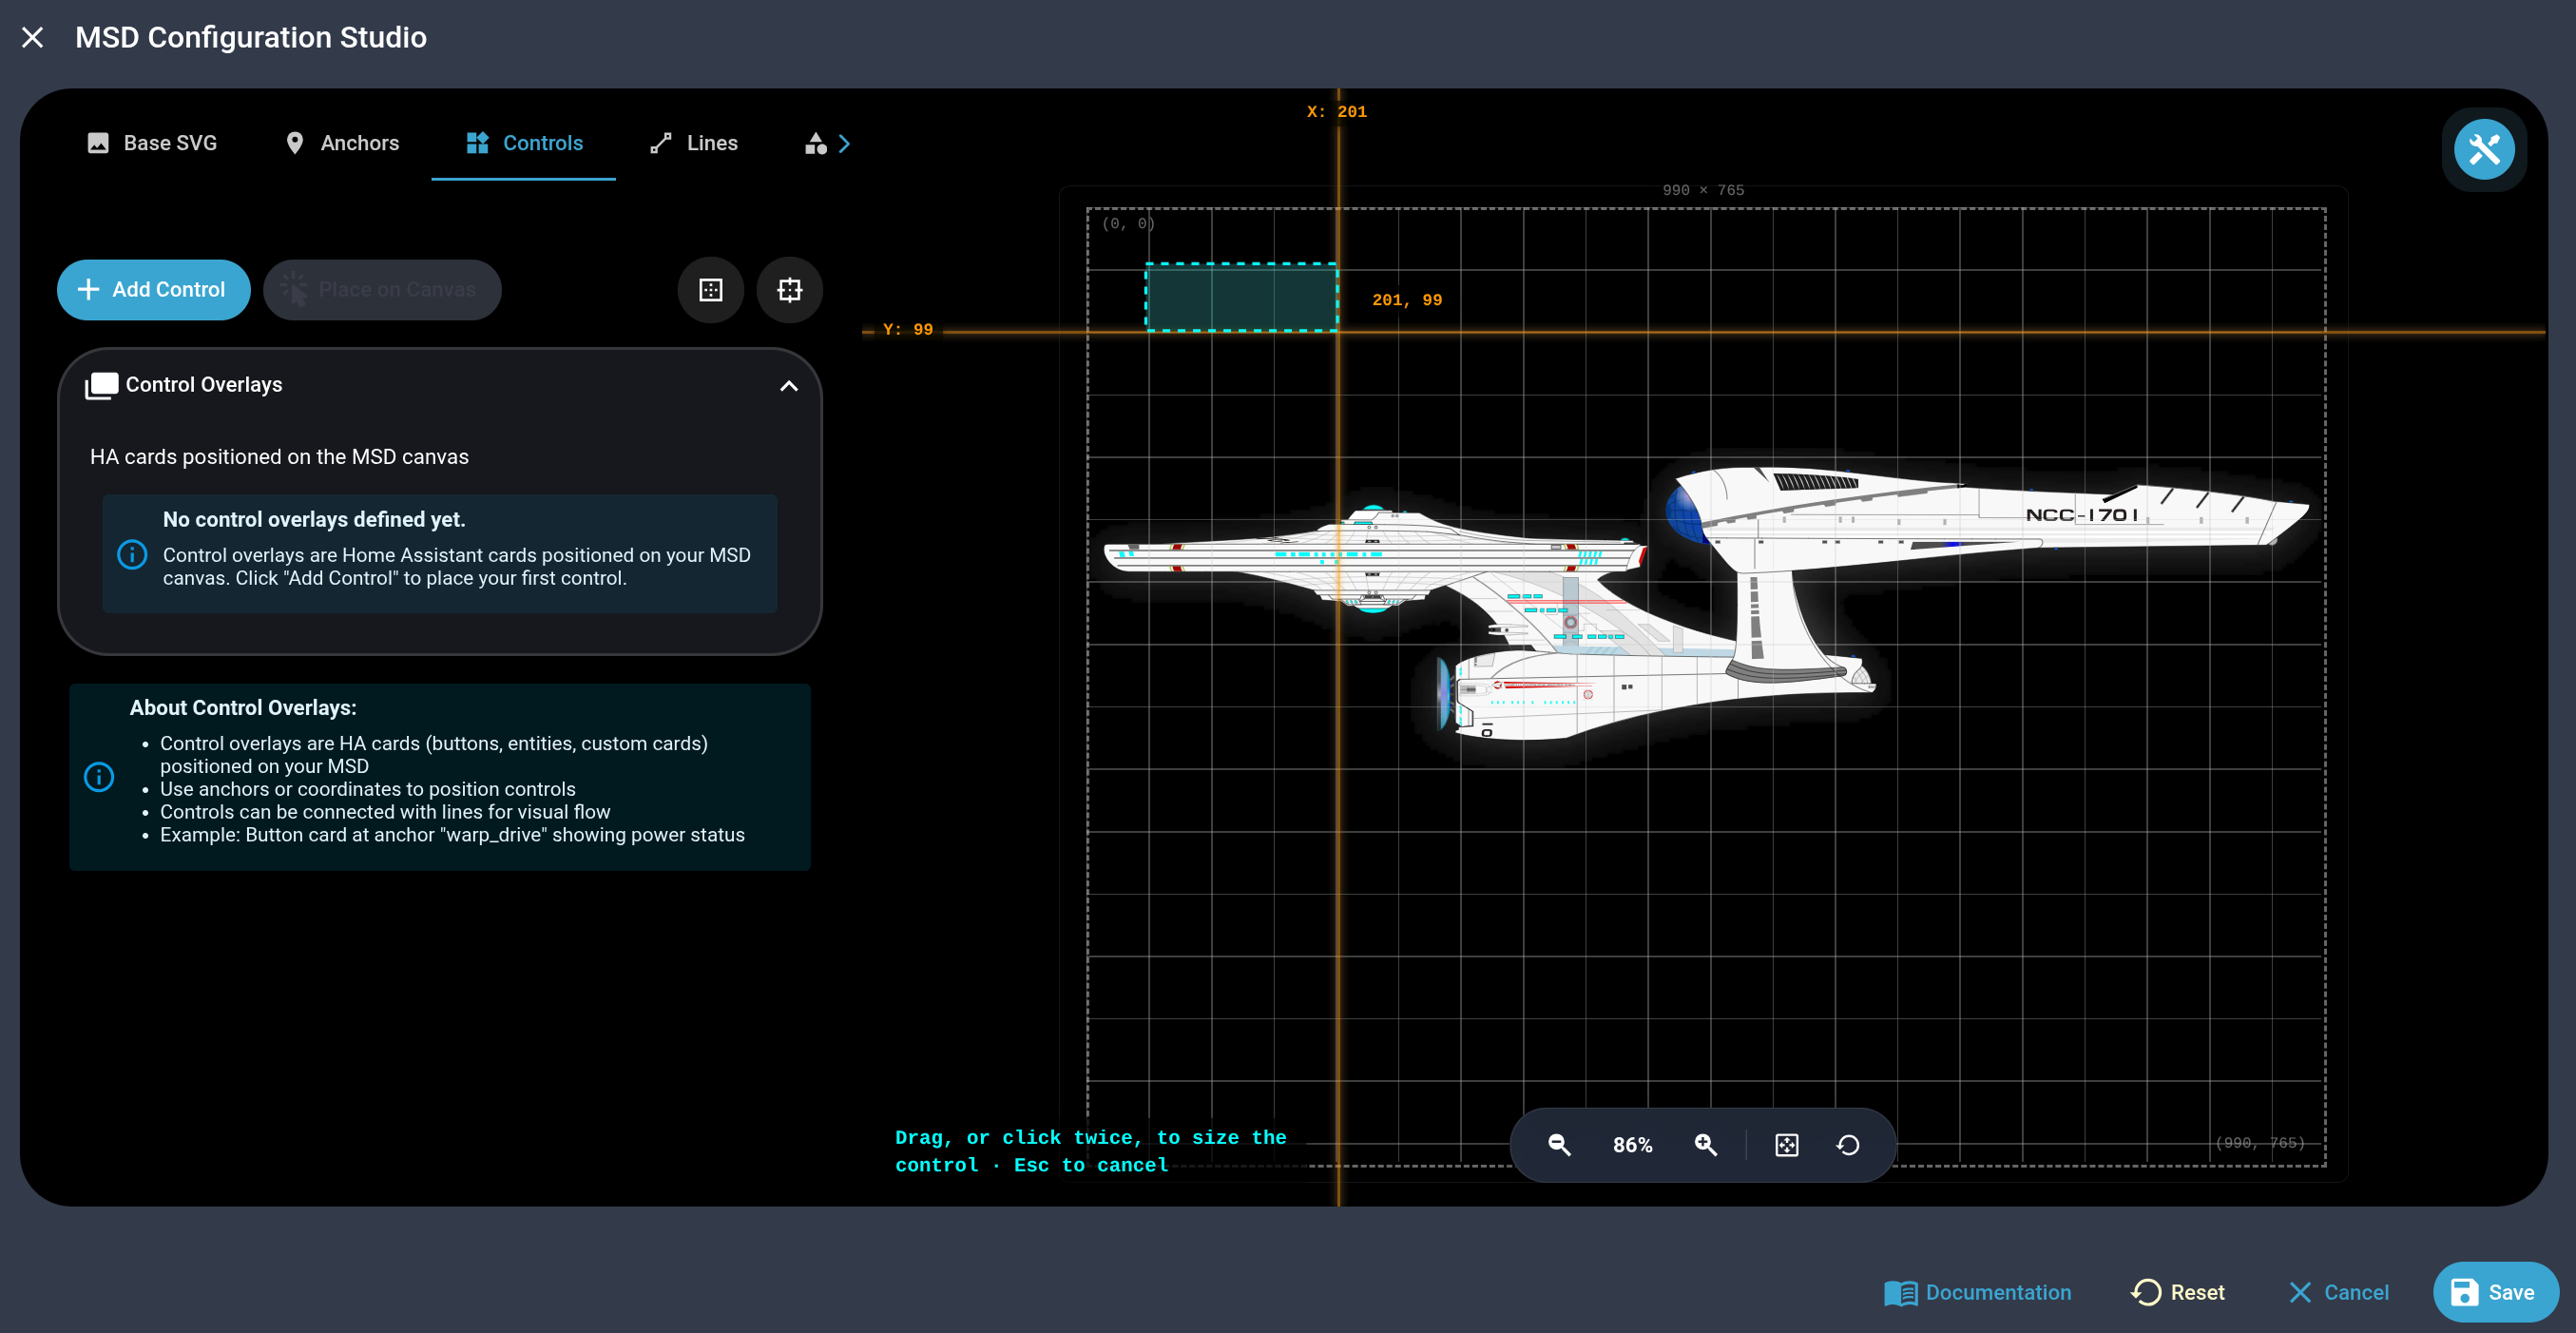
In the form that opens:
- Give your control an ID.
- On the Card tab, pick the Home Assistant/LCARdS card you actually want displayed here - a button, a slider, a sensor tile, anything. You can configure it exactly like you would anywhere else in Lovelace.
- Save the control.
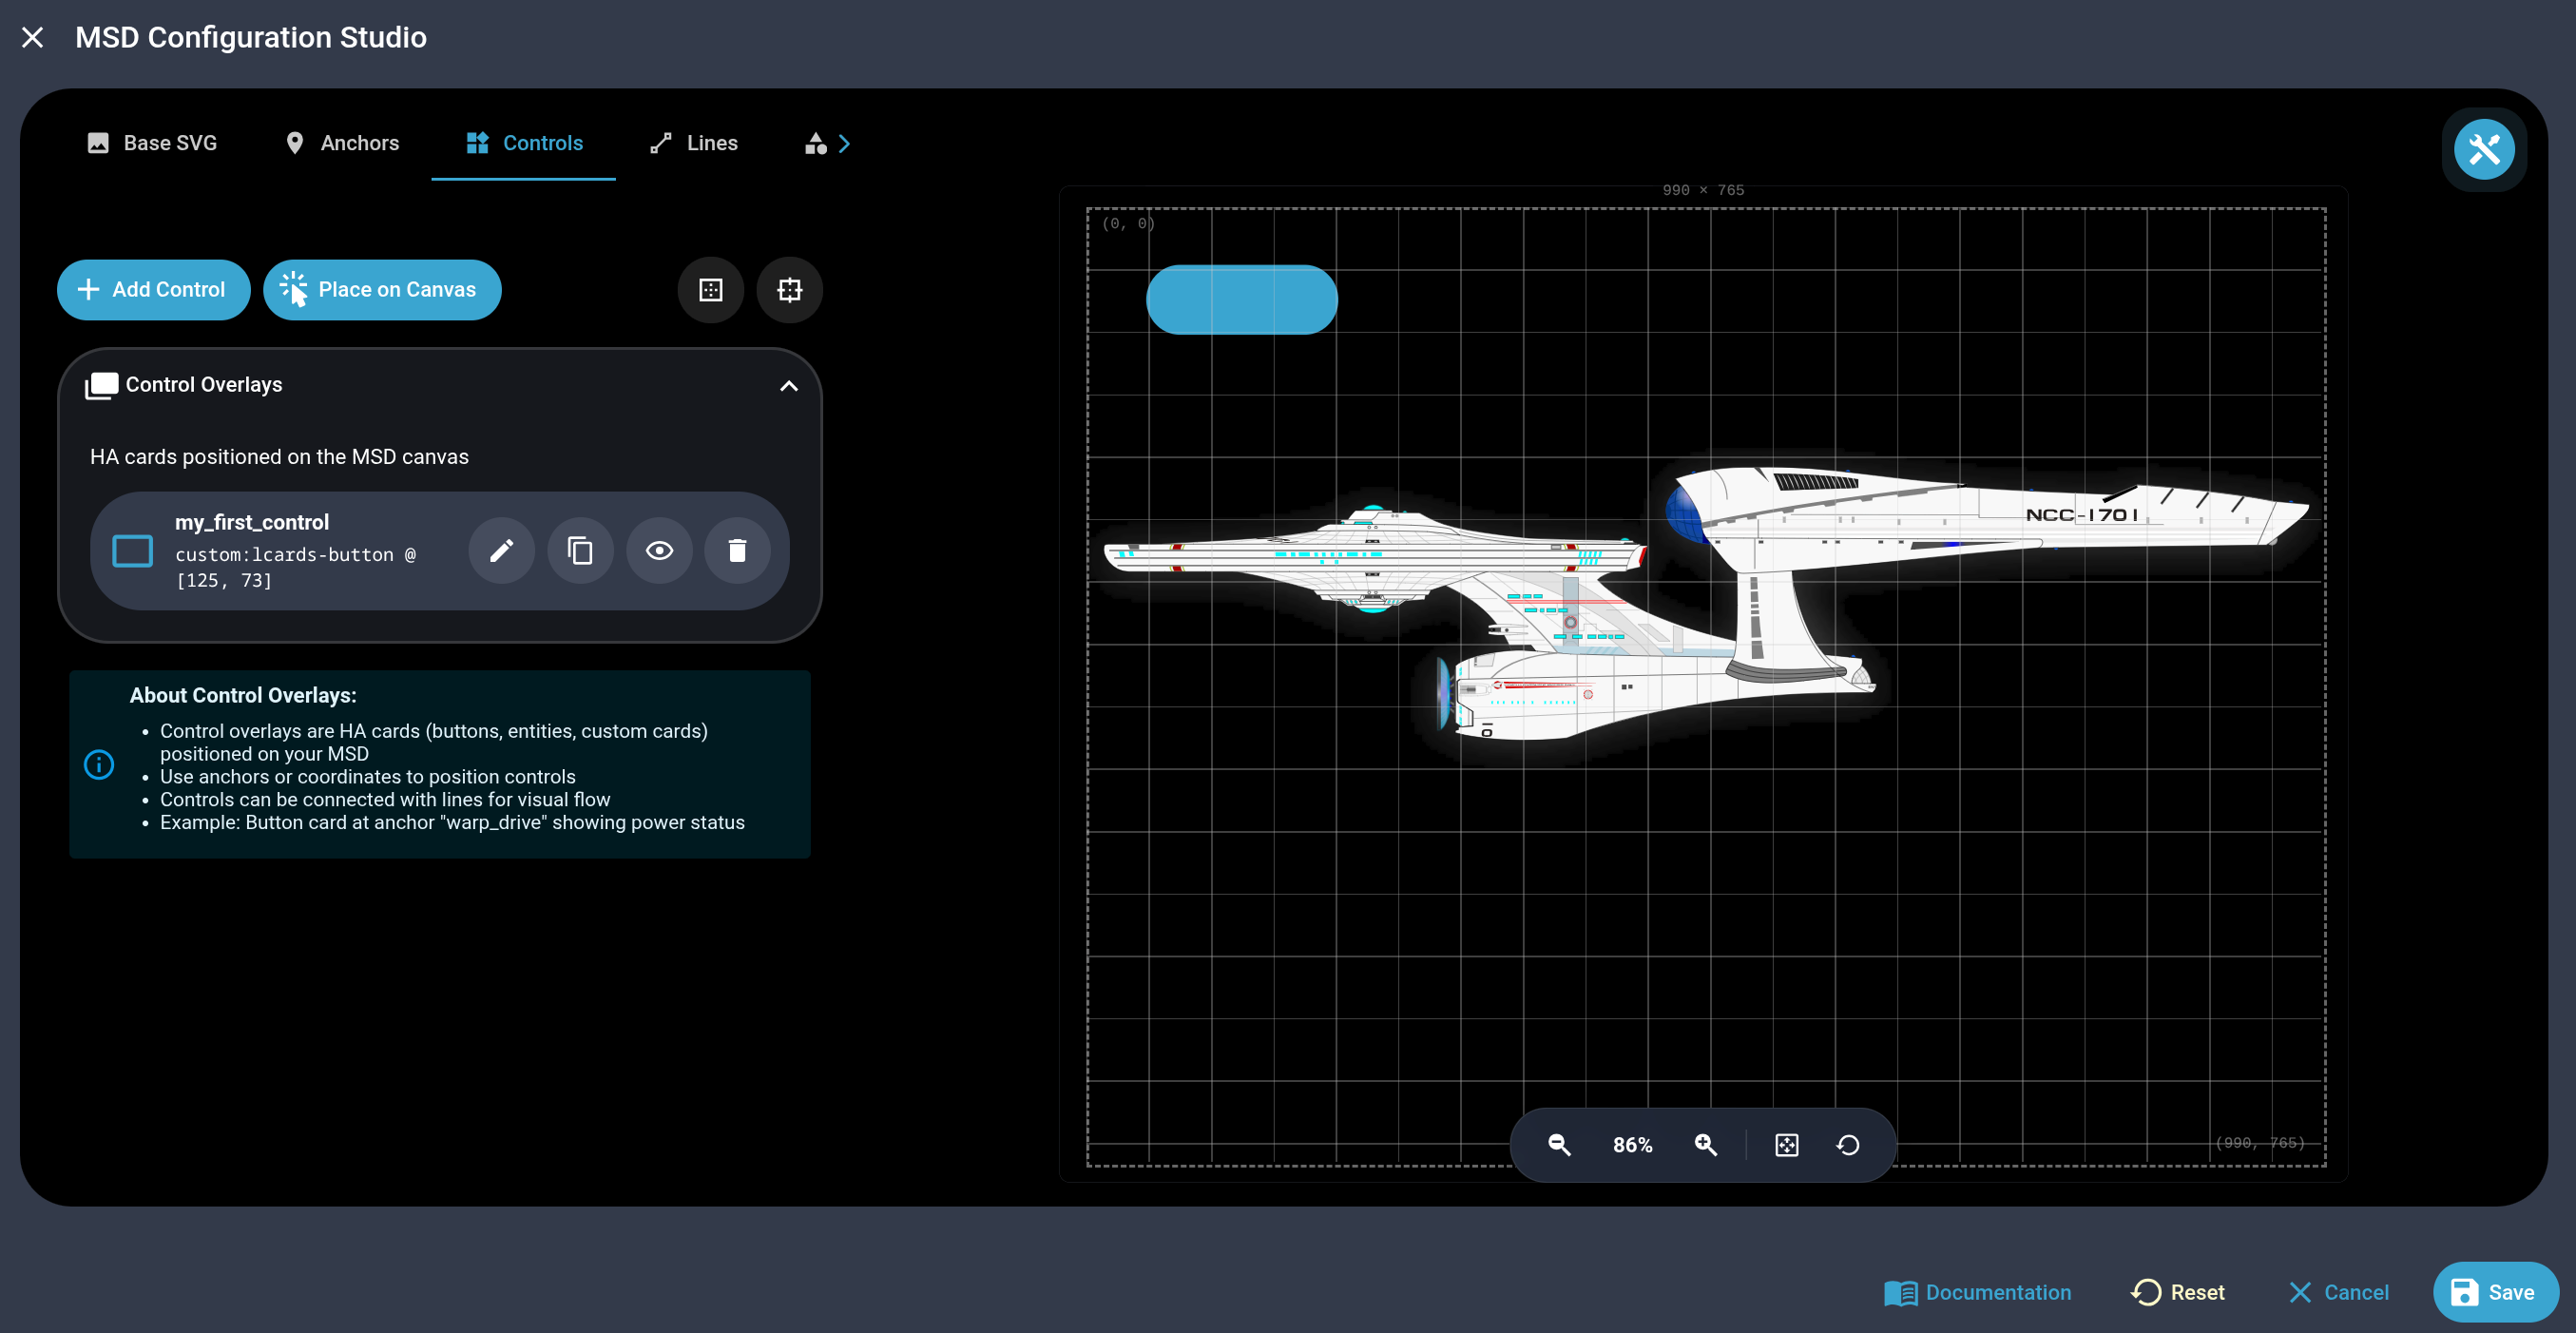
Your control now appears positioned on the canvas, on top of the background.
Step 4 — Connect The Control To The Ship With a Line
Switch to the Lines tab. There are two ways to draw a connection:
- Add Line button — opens a form where you pick a source (Anchor) and destination (Attach To) from a dropdown of every control/anchor on the canvas, plus which side of each to depart/arrive from.
- Connect Line canvas tool (in the toolbar above the canvas) — click it, then click on any connection point (orange dot) your control followed by any other control's connection point (orange dot) or Anchor (blue dot) directly on the canvas.
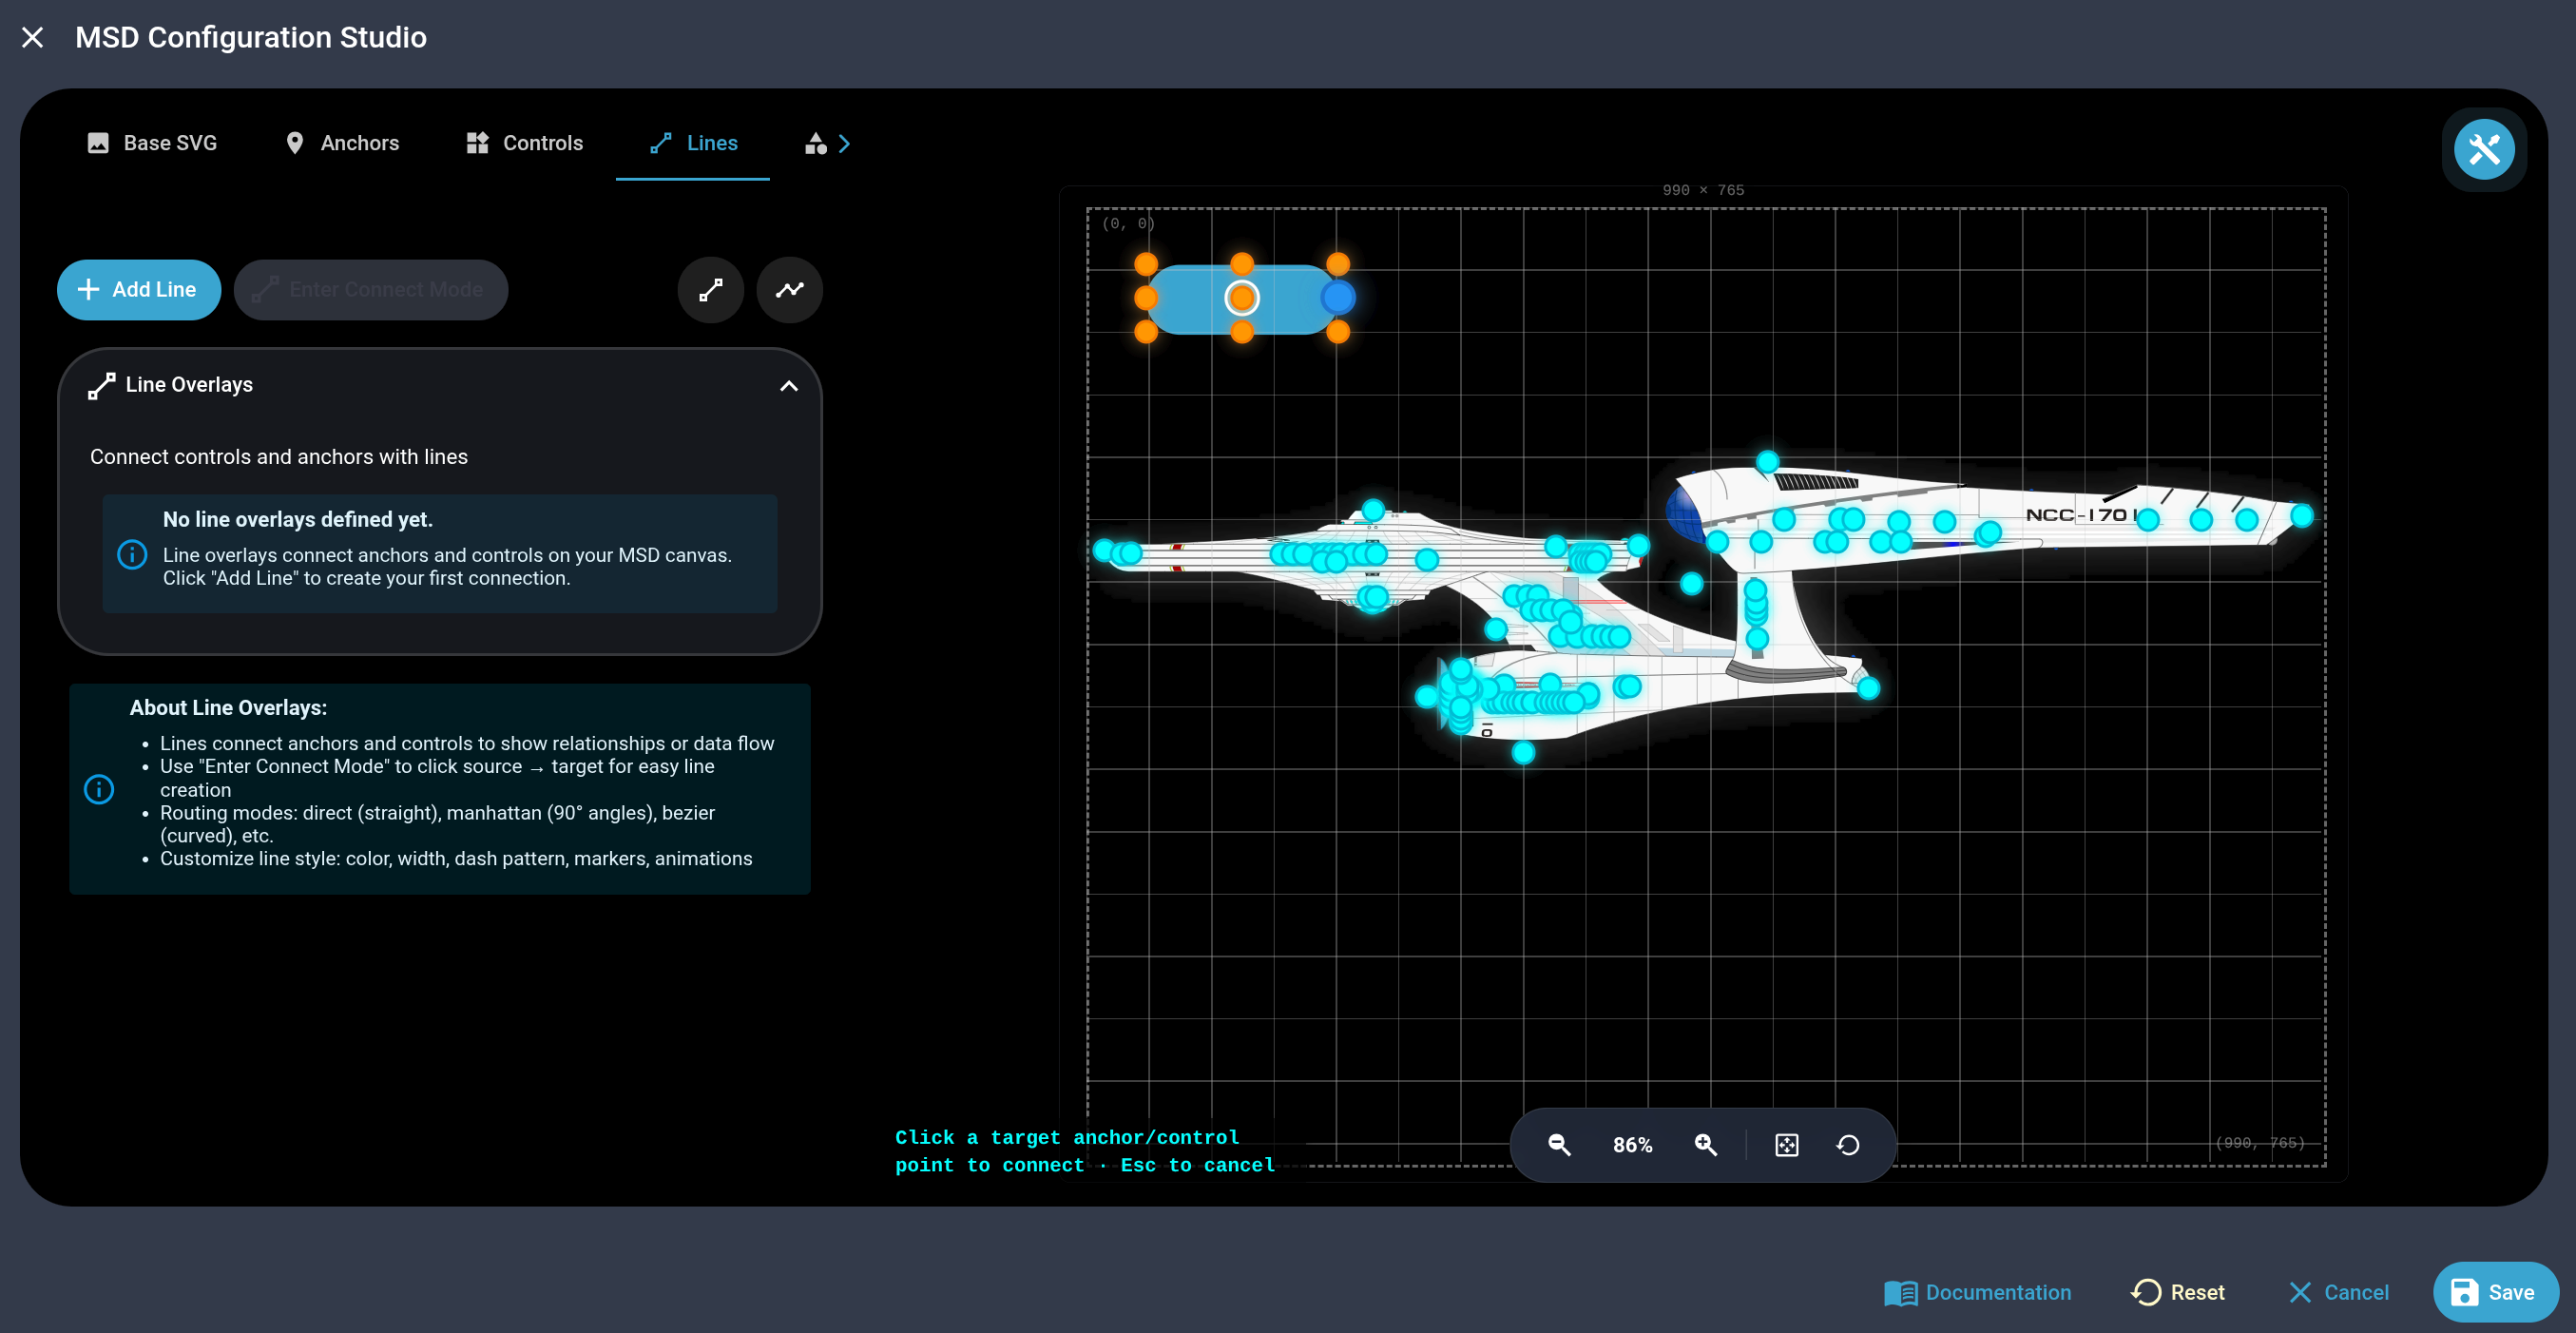
The Add Line dialog will open. Give your line an ID, or just accecpt the generated default. For now, leave all other options as is, and click Save. The line will find the currently best route automatically and be drawn on the canvas.
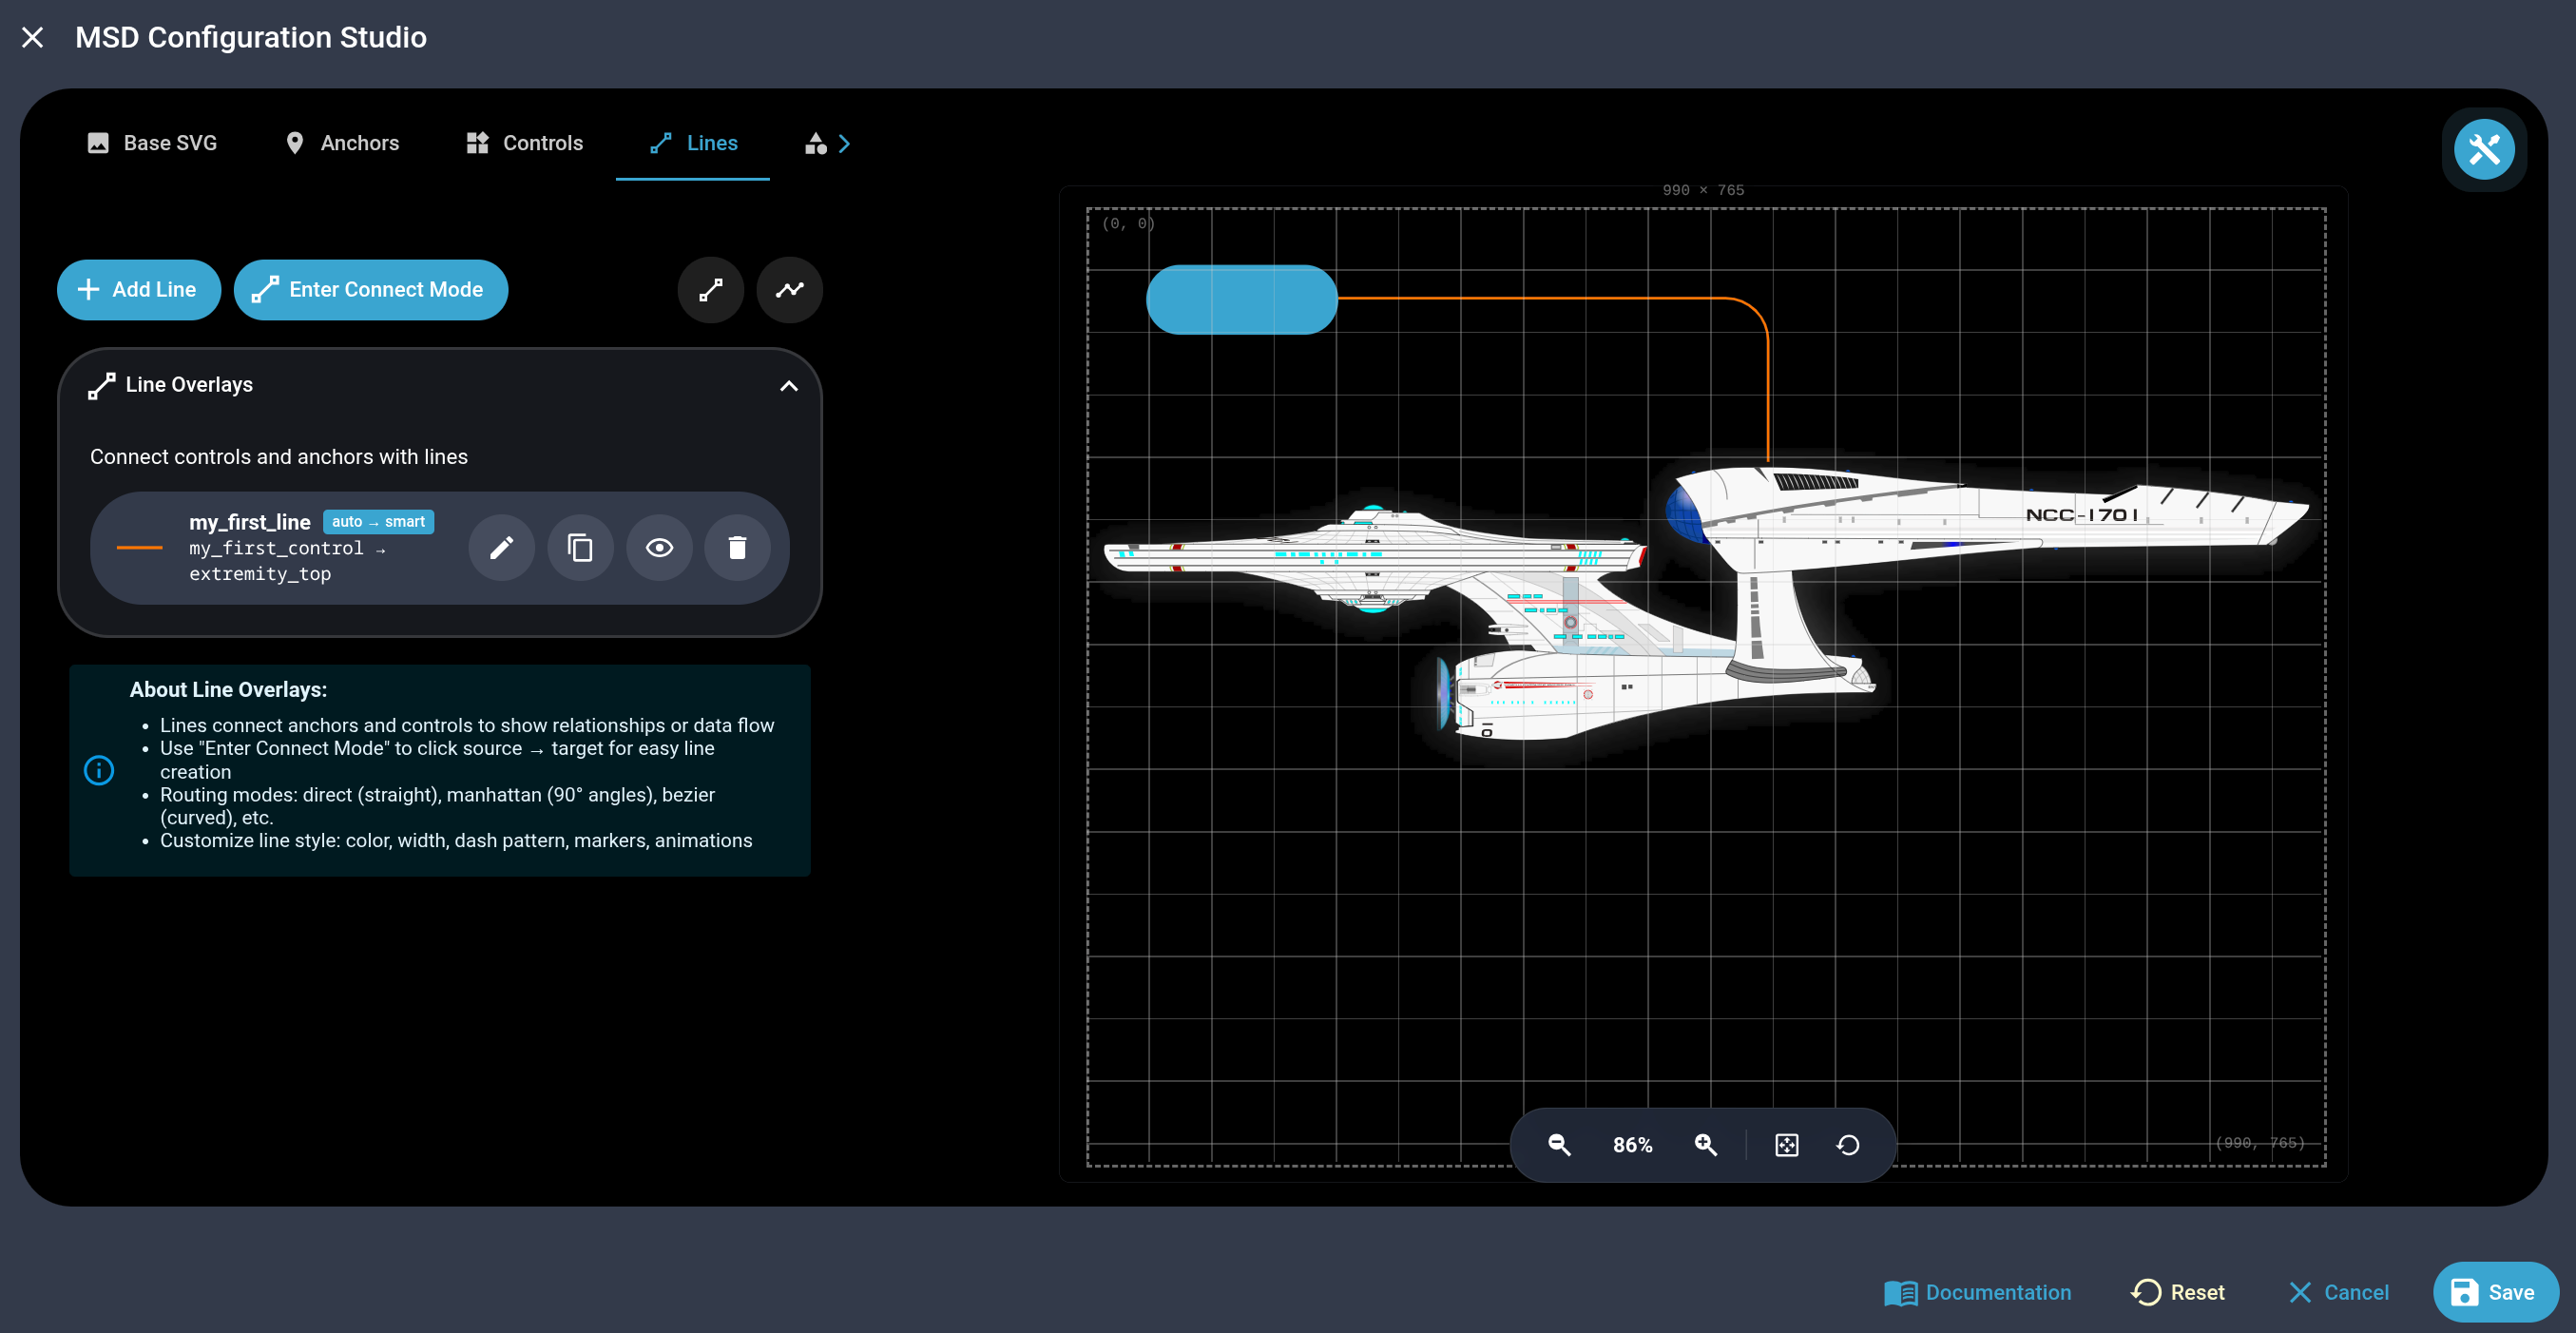
Step 5 — Save
Skip Shapes and Routing for now — they're both optional. Shapes add decorative geometry (rooms, zones, conduit runs) once you want the canvas to feel more like a real schematic; Routing exposes global tuning knobs that are only worth touching once you've noticed something you specifically want to change (curious how lines find their own path? see Routing Concepts; full config reference: Routing & Channels).
Click Save in the Studio's footer, then save the card/dashboard as you normally would in Lovelace.
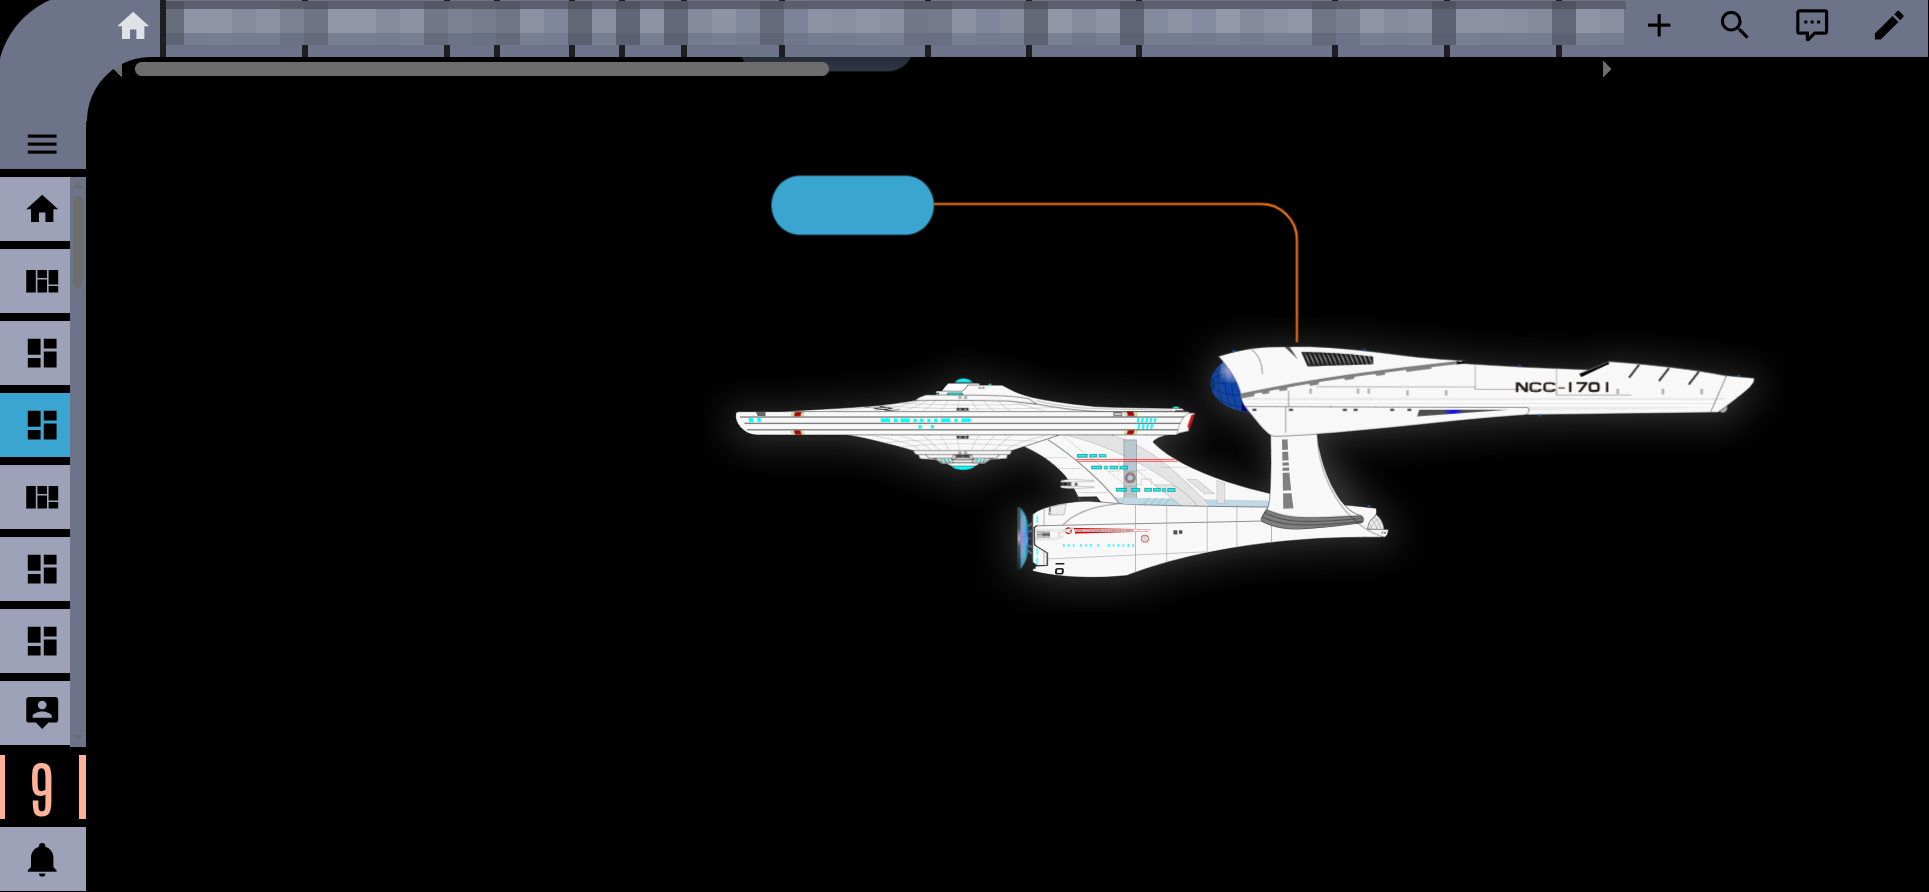
That's a complete minimal MSD: a background, a live control, and a line connecting control to the ship, all placed and drawn without writing any YAML.
Where to Go Next
- Control Overlay — every control placement/sizing option
- Line Overlay — routing modes, styling, markers, state-based color
- Routing Concepts — the short version of how lines find their own path
- Routing & Channels — how automatic bundling works, and how to guide it
- Shape Overlay — rooms, zones, and freeform geometry
- MSD Card — full config reference, once you're ready to read/write the YAML directly